We are often asked how we make our jewelry. So we thought we'd show you what we do. We make our handcrafted jewelry using the lost wax casting process. Lost wax casting is an ancient art form. The oldest known examples of objects created using lost wax casting date back to 3700 B.C.
My husband Richard and I make every piece of Kristin Larson jewelry, here in our studio, from start to finish. Here's how we use the method today...
WAX MODELING

Every piece starts as a sketch. I create the design, then carve the design in wax using specialized wax carving tools, files, a straight pin, and magnifying glasses to capture the details.
MOLD MAKING

Before we cast the wax in sterling silver or 14k gold, molds are made to create duplicates. Even if a piece is a custom, one of a kind item, it is best to make a mother mold. It often takes hours to create the original. During casting, the wax melts and is lost in the process. Richard makes our RTV rubber molds.
READY FOR CASTING

Even though duplicates are made from molds, each wax needs to be fine tuned after being released from the mold. I go over each piece to clean up any flashing from the molds, and crisp up detail that may have gotten lost.
BUILDING A TREE

I build a structure called a tree. This creates a pathway for the molten metal to flow and take the place of the wax during casting; hence the name of the process, lost wax casting. I strategically attach wax wire, called gating, to each wax model, then attach that to the main central sprue. When building the tree it is vital to think about how the wax will flow out of the mold, and how the metal will flow into it.
INVESTING

Now Richard creates a mold for casting. This is called investing. The trees are put into stainless steel flasks. He creates a mold around the wax tree with investment, which is a very fine plaster. The investment has to go through various steps including mixing and then vacuuming out the air that gets introduced from the mixing before it sets up. He's got 9 minutes.

The flask is put into the vacuum chamber, then vacuumed to pull the air out of the investment. This prevents bubbles from clinging to the waxes. You can see the air being pulled out of the investment. The same process is used when we make the rubber molds shown in the previous photos.
DEWAXING AND BURNOUT

Next, Richard puts the flasks in an autoclave to melt most of the wax out of the flasks. This step makes the process kinder to the environment by containing the fumes from the melting wax in the pressure cooker rather than releasing them into the air during the burn out process in the kiln. It also makes for a cleaner burn out which gives us a more pristine result in the casting. The flasks dewax in the steamer for about 2 hours.
Then the flasks go into the kiln. They go through the burn out cycle for 3 hours at 300 degrees. After the burnout, the kiln slowly builds up to 1200 degrees or so depending on the metal being cast. This takes another 8 hours. During this part of the process the investment also hardens.
CASTING

Now we are finally ready to cast. The red hot flask is taken out of the kiln and set into the centrifugal caster. The metal, sterling silver in this casting, is put into the crucible. The whole thing is wound up, and under tension.

Richard melts the silver with a torch. When the metal is completely molten, he releases the tension on the centrifugal caster and it goes spinning.
The spinning action throws the molten metal into the flask. The red hot metal is now in the flask in place of where the wax used to be.
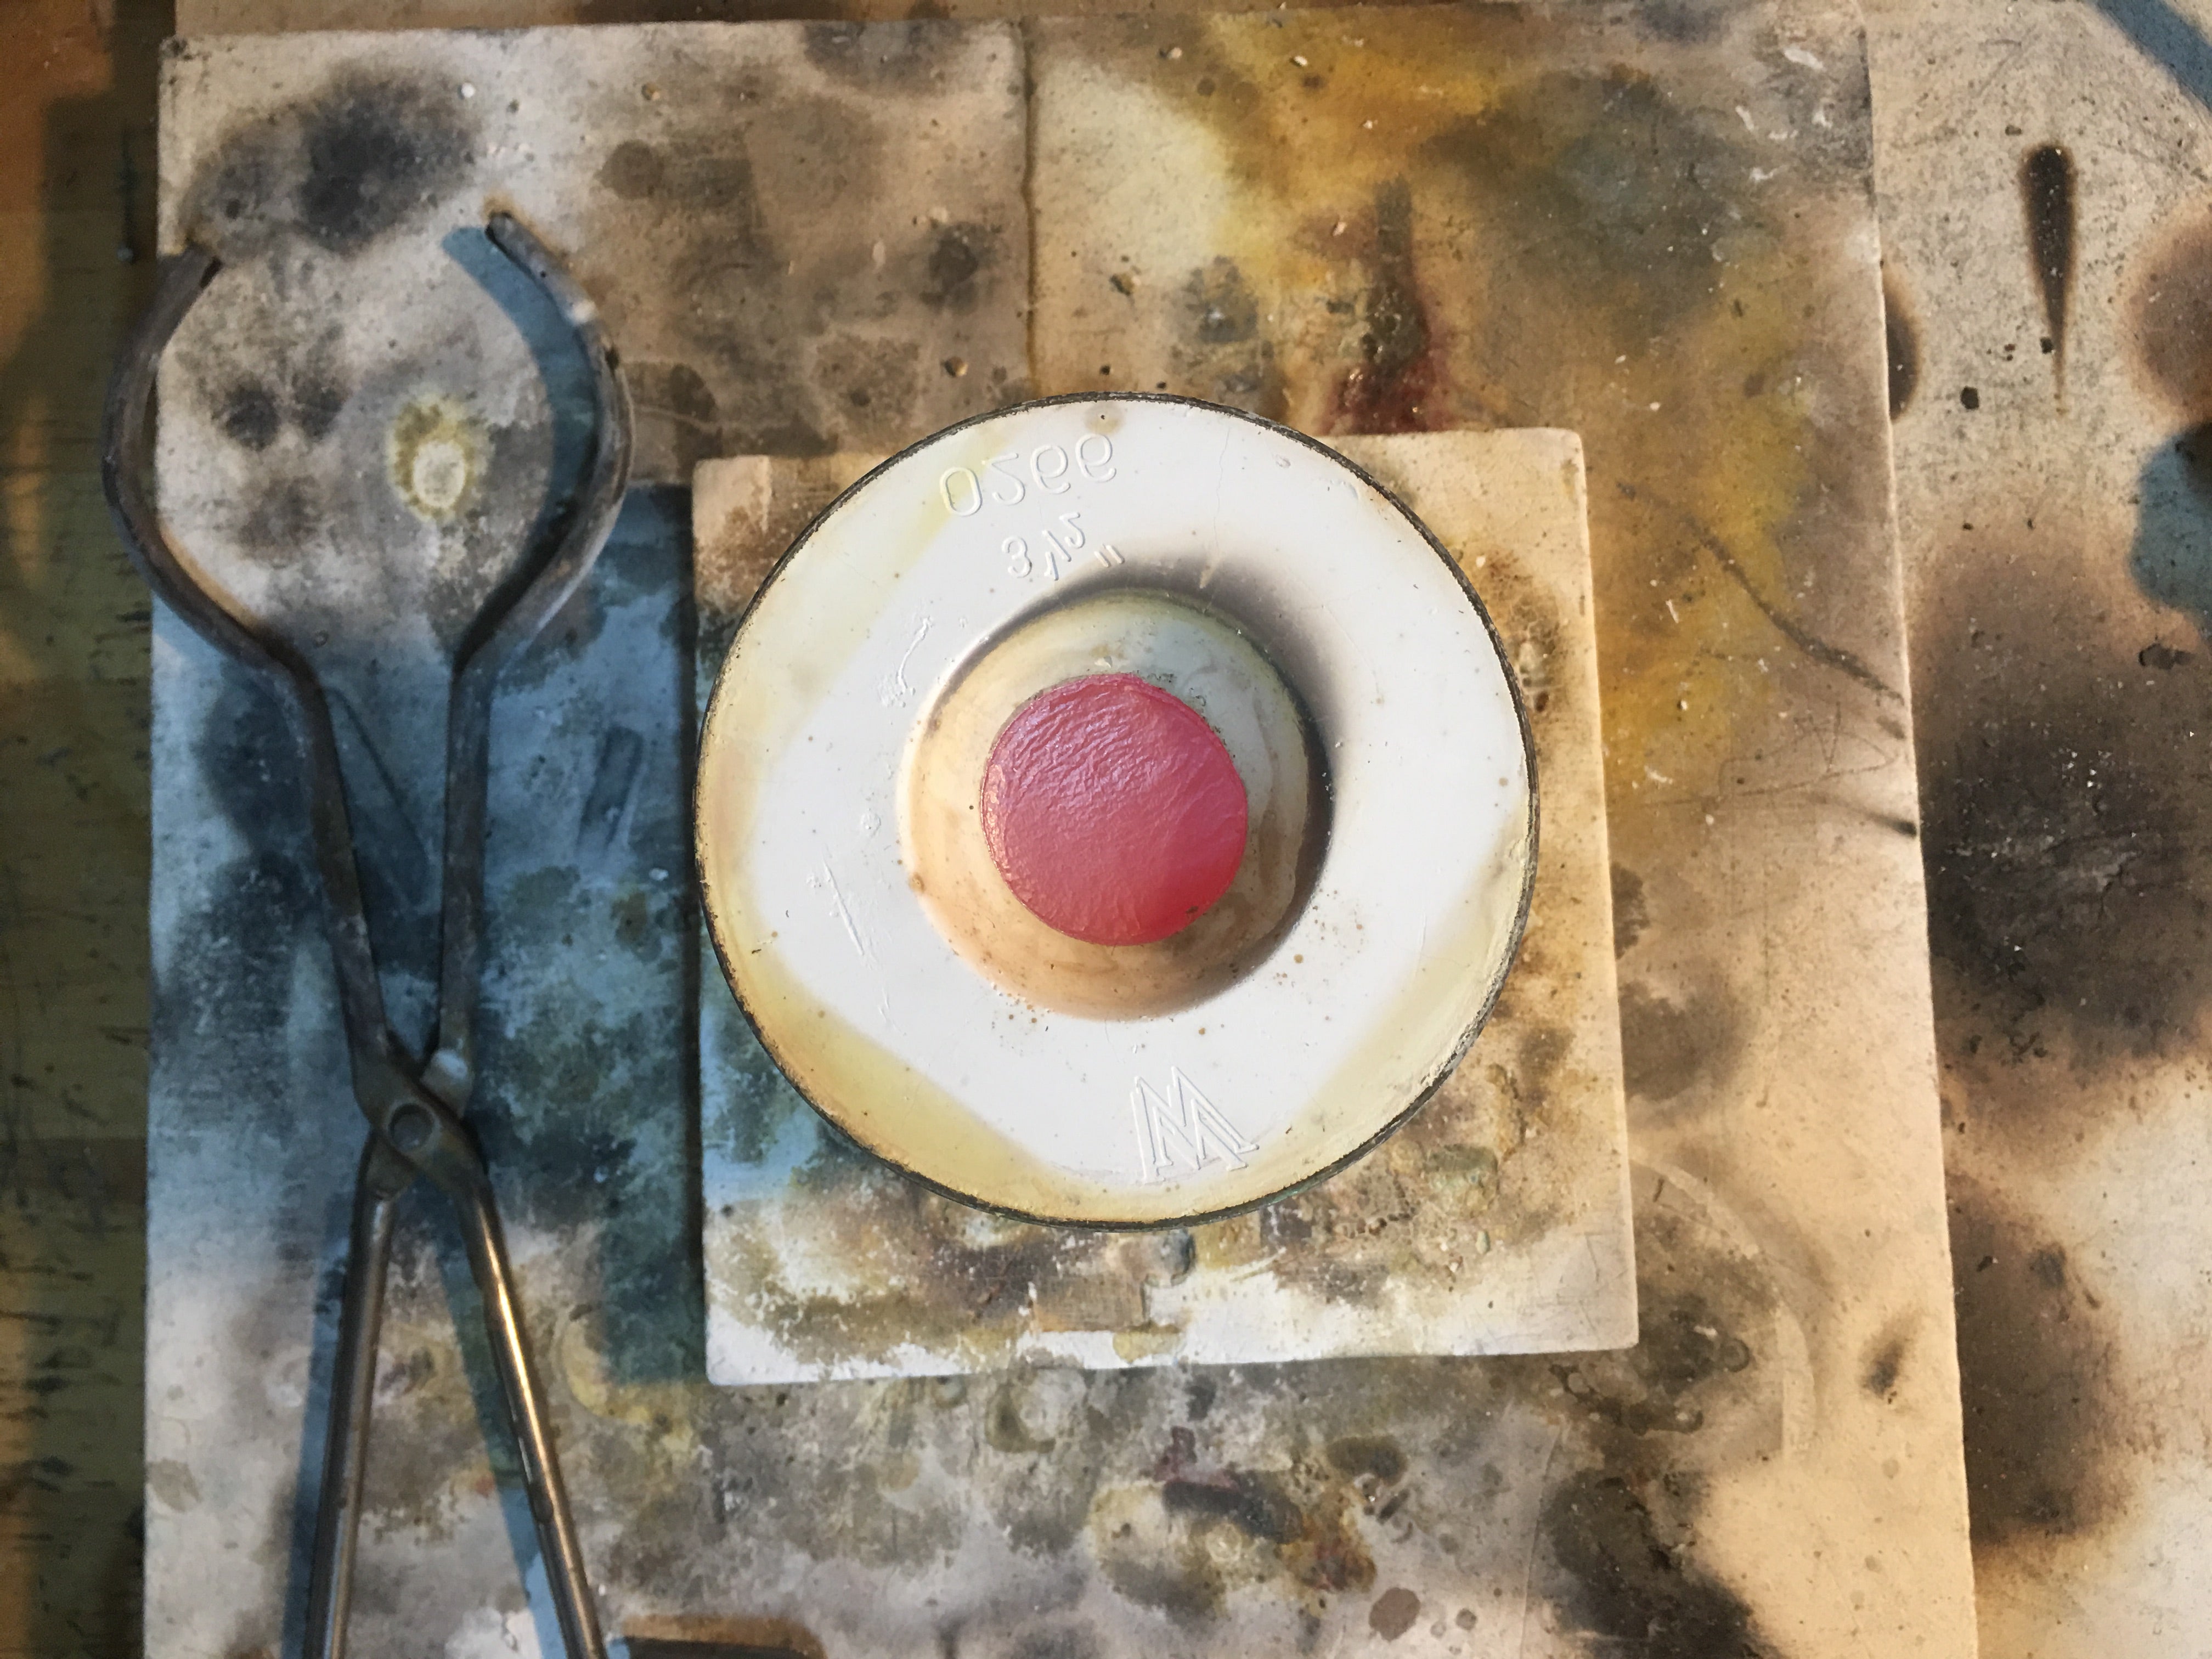
RELEASING THE CASTING

That glowing red circle is the molten sterling silver. It needs to cool a bit before it is quenched. After about 15 minutes, the still very hot flask is quenched in a bucket of water.

Quenching the hot flask causes the water to boil and break up the investment.
CLEAN UP AND FINISHING

On the top left is the sterling silver tree. It used to be wax!
The bottom left photo shows the pieces cut off the tree. There is a lot of work to do. We cut off, grind down, and file all the gating so it looks as though it was never there. The black oxidation also needs to be removed.
Then the pieces go through an 8 1/2 hour polishing process. I polish the pieces with varying grits of sanding disks, and then put them through the tumbling process. After the pieces are cast, cleaned up, and polished, I need to create the final piece of jewelry which might include building chain, and soldering elements and connections.
To finish the piece, I give it a dark patina to create depth and bring out the details in the design. Finally, I polish it again by hand. The end result is a rich satin sheen.
GENUINELY HANDCRAFTED JEWELRY

1 comment
So impressive that I actually have tears 😢 in my eyes! My heart is touched at such a gifted person! ❤️ You both are just amazing and deserve every accolade!!!
Leave a comment